広告
この記事は
node.jsおよびwebpackでのファイルパスの操作について、個人的に覚えておきたい内容をまとめました。
環境について
記事を書くにあたり用意した環境は次の通り
- Windows10 Home
- node.js : v20.9.0
- webpack : 10.1.0
- template-ejs-loader
- HtmlWebpackPlugin
- その他Typescriptなど

path関係の関数
今回はtemplate-ejs-loaderを絡めてHtmlWebpackPluginでhtmlを出力するためいろいろと試しました。
次の表は重要な関数やグローバルな定数についてまとめたものです。
| path.resovle | 引数のパスをつなげる。 |
| path.join | 引数のパスをつなげる。 |
| path.relative | 相対パスを取得できる |
| __dirname | スクリプトファイルの置いてあるディレクトリーの絶対パス |
| __filename : | スクリプトファイルの絶対パス/td> |
| process.cwd() | カレントディレクトリー(プロジェクトルート)の絶対パスを取得できます。 |
パス管理のTips
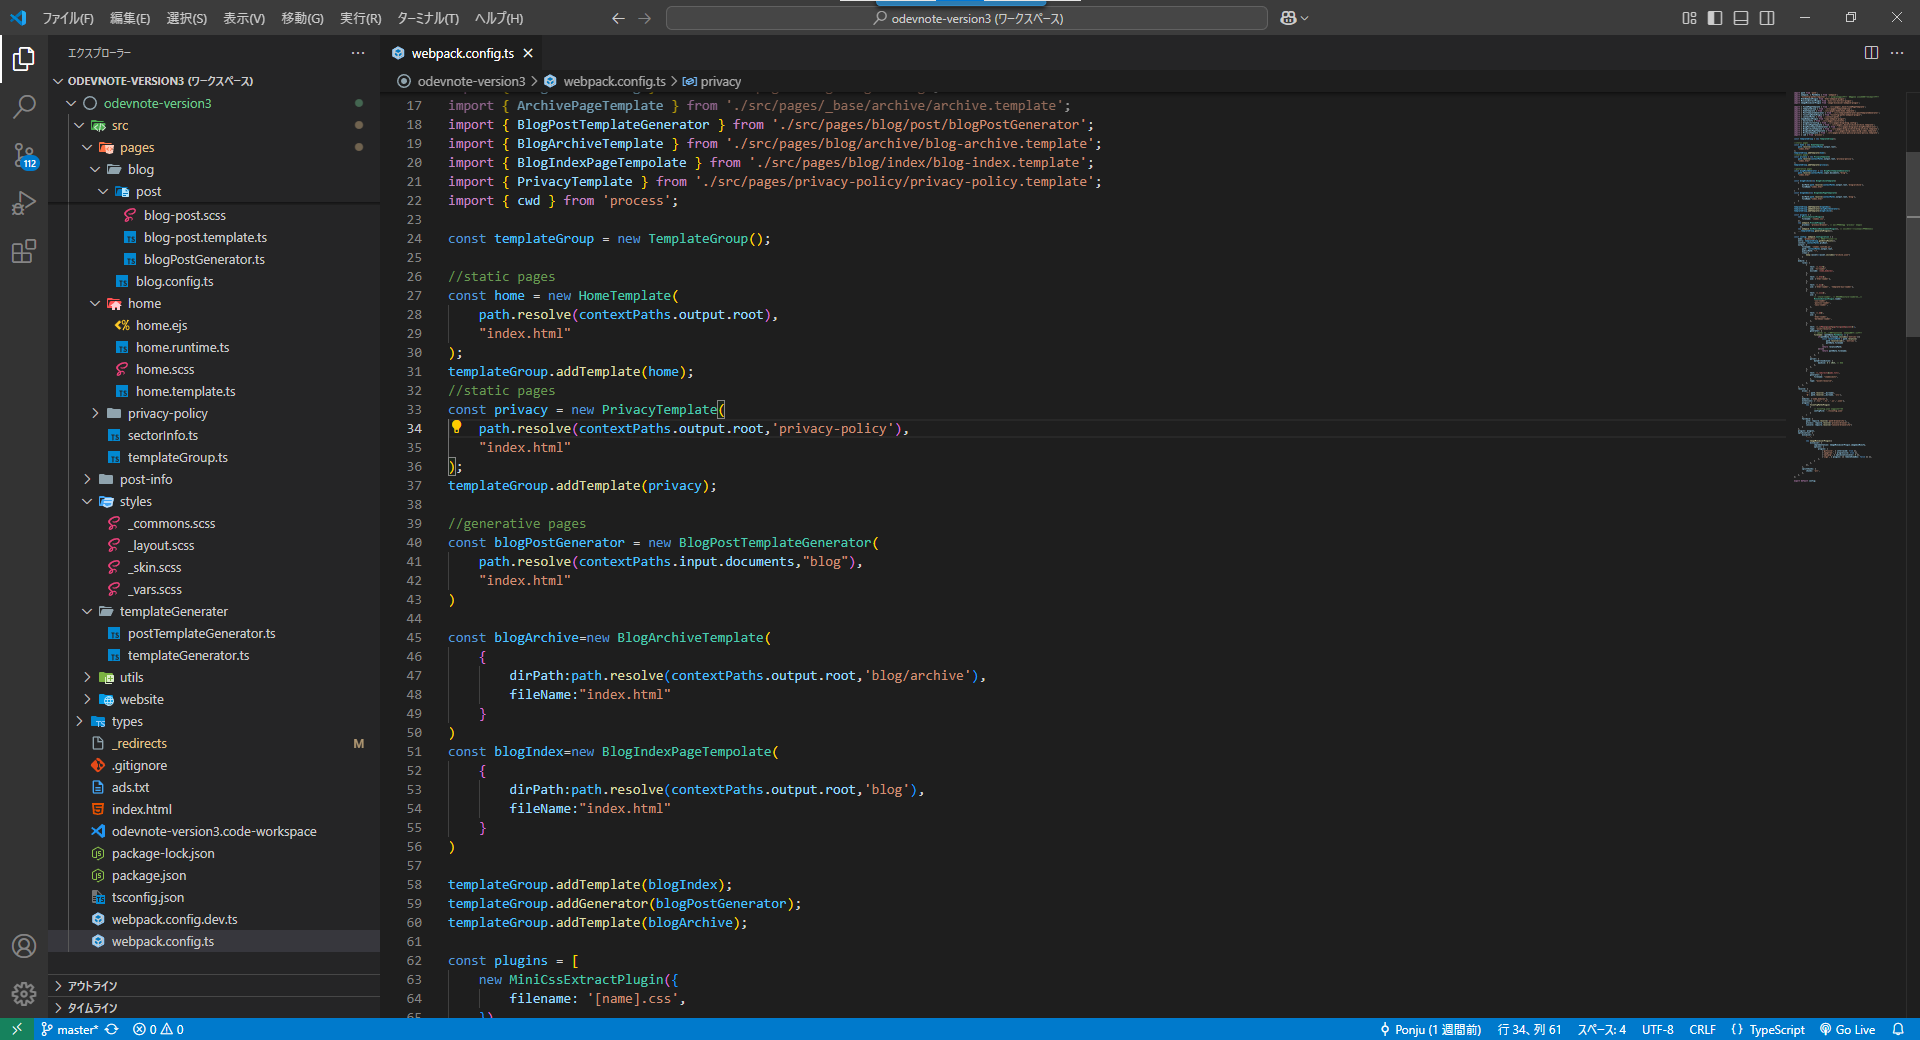
新しい方のプロジェクトではプロジェクトルートに原稿となるmarkdownの入ったディレクトリーなどを配置しています。 このあたりのパスを次のように定数定義したスクリプトファイルを用意すると、管理が一気に楽になります。
HtmlWebpackPluginやtemplate-ejs-loaderを使っている場合は絶対パスでの指定をできますが、半分グローバル変数を定義したようなスクリプトファイルを用意することでぐっと使いやすくなりました。
例えば
次のようなスクリプトを用意します。
import path from "path";
import { cwd } from "process";

const EXPORT_DIR = "export"

const projectRoot=path.resolve(cwd());
const websiteResources=path.resolve(projectRoot,"src");
const assets=path.resolve(websiteResources,"assets");
const exportDir=path.resolve(projectRoot,EXPORT_DIR);

//FULLPATH
export const contextPaths={
    prjRoot:projectRoot,
    input:{
        root:websiteResources,
        assets:{
            favicon:path.resolve(assets,"favicon.ico"),
            logo:path.resolve(assets,"logo.png"),
            logoWide:path.resolve(assets,"logo-wide.png"),
            siteImage:path.resolve(assets,"site_image.png"),
            defaultThumbnail:path.resolve(assets,'default_thumbnail.png'),
        },
        templates:path.resolve(websiteResources,'pages'),
        documents: path.resolve(projectRoot,"entries")
    },
    output:{
        root:path.resolve(exportDir),
        assets:path.resolve(exportDir,"assets"),
        defaultThumbnail:path.resolve(exportDir,'assets/default_thumbnail.png'),
        archives:path.resolve(exportDir,"archives"),
    },
}
このように定数を定めておけば、次のようなスクリプトで書き方を迷わないで済みます。
import path from 'path';
import { format } from 'date-fns';
import HtmlWebpackPlugin from 'html-webpack-plugin';

//略
import { contextPaths } from '^/context/paths';
//略

export class PostTemplate implements IPageTemplate {

//略
  getPlugin(): HtmlWebpackPlugin {
    try {
      return new HtmlWebpackPlugin({
        //略
        template: htmlWebpackPluginTemplateCustomizer({
        //略
          templateEjsLoaderOption: {
            data: {
              assetPaths: contextPaths.input.assets, //インポートしたパスを利用
              postInfo:{
                title:this._postInfoData.title,
              },
              partials:partials //中身はファイルパスをまとめただけ

        //略
            },
          },
        }),
      });
    } catch (error) {
      console.error(`Failed to create HtmlWebpackPlugin for template: ${this._templateFilePath}. Error: ${error.message}`);
      throw error;
    }
  }

}
ヘッダーなどの使いまわし
上の例ではヘッダー部分などサイト全体で共有するようなパーツのテンプレートも整理しやすくしました。
ファイルパスをまとめた定数を定義することで、 ejsテンプレート内で使えるinclude関数を使って取り回しがしやすいようにもしています。この方法も割合便利です。
- 使いまわししたいパーツを入れるディレクトリーを作る
- ヘッダーなどのパーツのejsファイルを絶対パスで定義する
- 先ほどのスクリプトのpartialsのオプションのところでこれを使うことで、管理しにくいパス管理が一気に楽になりました。
絶対パスを定義したスクリプト
import path from "path";

const parent = __dirname;

export const partials ={
    head:path.resolve(parent,'_head.ejs'),
    header:path.resolve(parent,'_header.ejs'),
    footer:path.resolve(parent,'_footer.ejs'),
    bottomScripts:path.resolve(parent,'_bottomScripts.ejs')
}
ejsファイル
    <%- include(partials.head,{}); %>

    <body>
        <div id="page-root">
            <%- include(partials.header,{ assetPaths:assetPaths }) %>
            <main class="post-contents">
            </main>
            <%- include(partials.footer) %>
        </div>
        <%- include(partials.bottomScripts) %>
    </body>
あとがき
というわけで最近覚えたWebpackの、パス関係のTipsをまとめてみた記事でした。
ご拝読ありがとうございました。
